![]() Depending on where you live, it may be that time of year when winter feet begin to emerge from socks and shoes and you want them to look good in sandals. Covid restrictions may also make it difficult or impossible to go for a professional pedicure. Never fear! It’s really not that hard to do yourself and a bit of self-pampering might be just what you need right now.
Depending on where you live, it may be that time of year when winter feet begin to emerge from socks and shoes and you want them to look good in sandals. Covid restrictions may also make it difficult or impossible to go for a professional pedicure. Never fear! It’s really not that hard to do yourself and a bit of self-pampering might be just what you need right now.
Here’s an easy step-by-step guide:
Step 1: Prep your nails
Remove any old polish with nail polish remover. If you’re like me, you can skip this step at this time of the year. The only time I apply polish to my toenails in the winter is when we take a vacation to somewhere warm and, for obvious reasons, that didn’t happen this year. Otherwise, my feet are hidden all winter long and I don’t see any point in polish that no one is going to see.
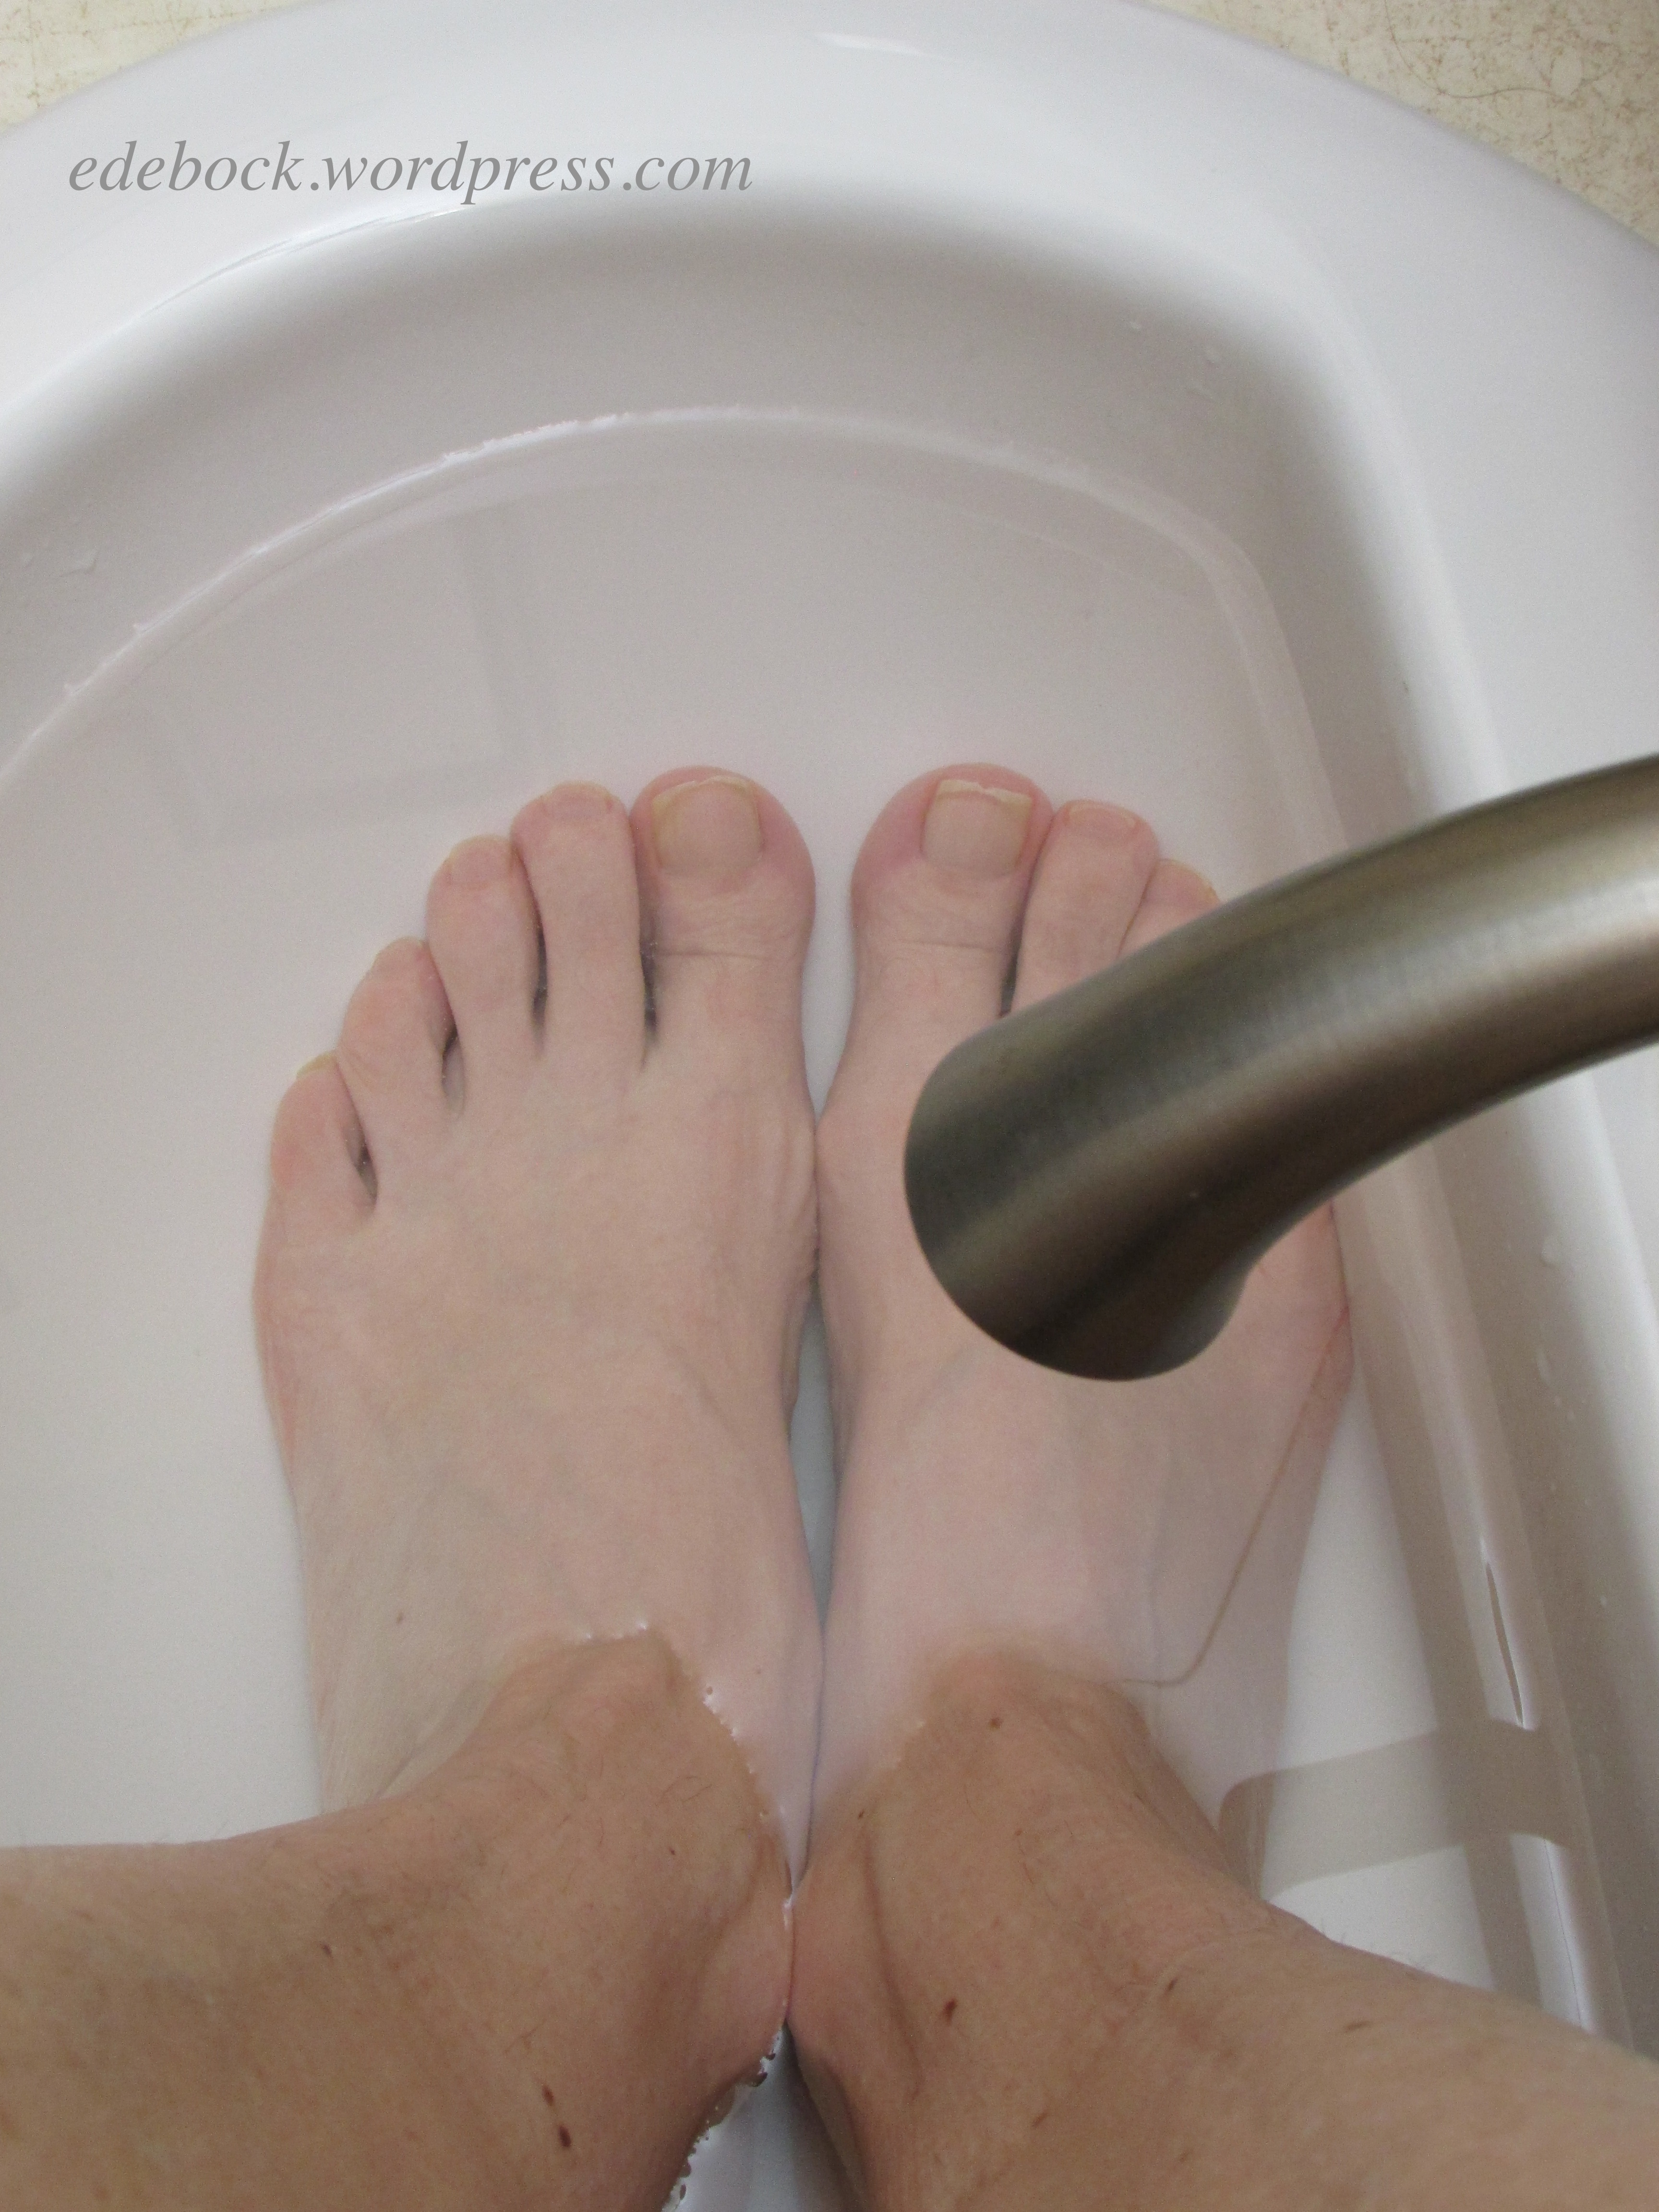
Step 2: Soak your feet
This is the step that I like best! If you have a foot bath, now is the time to put it to use. Otherwise, a regular basin will do or you can put enough water in the bathtub to cover your feet and ankles and sit on the edge. I usually sit on the bathroom counter and soak my feet in the sink, but you might not find that very comfortable. Regardless of what you use, add some bath salts (or epsom salts) and perhaps a few drops of a favourite essential oil and submerge your feet. Let them soak for 5 to 10 minutes or longer if you wish.
Step 3: Cuticle care
Do not trim your cuticles. Both the Mayo Clinic and the American Academy of Dermatology advise against this practice. Cuticles protect both your nails and the skin surrounding them from infection. Simply use an orange stick or a cuticle pusher to gently push them back. You may want to use a cuticle oil or cream first, but the foot soak should soften them enough to make this unnecessary.
Step 4: Exfoliate
Use a foot file or a pumice stone to remove dry, dead skin cells. Focus on the balls of your feet and your heels as well as any other rough or calloused spots. Be firm, but be careful not to overdo it. You may be able to skip this step if you do what I do which is apply moisturizer to your feet every night before bed. It doesn’t have to be a foot cream. Any body lotion will do. Keep it on your bedside table and apply it liberally just before you slide your feet under the covers. I’ve been doing this for years and at 68 years old, my feet are soft and callous free.
Step 5: Trim your nails
Cut straight across to avoid painful ingrown toenails. Be careful not to cut too short as this is also a common cause of ingrown nails. Use toenail clippers, which are wider than fingernail clippers, and don’t worry about getting a perfectly straight line because next you’ll use a nail file or an emery board to even out the edges and soften any sharp corners. If, like me, you’re prone to ingrown toenails, cut a tiny V in the centre of the nail. I learned this trick from a podiatrist over 50 years ago and I’ve been doing it ever since. Apparently, it encourages the nail to grow toward the centre. I only do this with the big toes as none of the others have ever ingrown.

Step 6: Moisturize and massage
Massage a dollop of moisturizer into each foot. Before moving on to the next step, use a cotton pad to remove any oily residue from your nails.
Step 7: Polish
You may want to go the whole nine yards and use a base coat and a top coat, but for the past several years, I’ve been using Sally Hansen Insta-Dri polish which is a 3 in 1 formula. On my toes, two coats will last for several weeks. Be careful to let the polish dry completely between each coat. An orange stick or a Q-tip is a handy thing to have on hand for a quick clean up if you accidentally paint outside the lines.
And there you have it, a complete and easy do-it-yourself pedicure that didn’t even cost a cent!

I can’t remember when the tradition started, but I’ve been painting my summertime toes with gold polish for many, many years. The colour I’m wearing here is called Go For Gold. Now, with my pedicure done and my trademark gold toes ready to shine, I’m ready for summer to finally get here!
 Summer seemed to come early to western Canada this year and we’ve experienced some record high temperatures over the past couple of weeks. After being hidden beneath the warmth of socks, shoes and boots all winter, my toes are out in the open again! I’ve been padding around the house in bare feet and wearing sandals much of the time.