It happened!

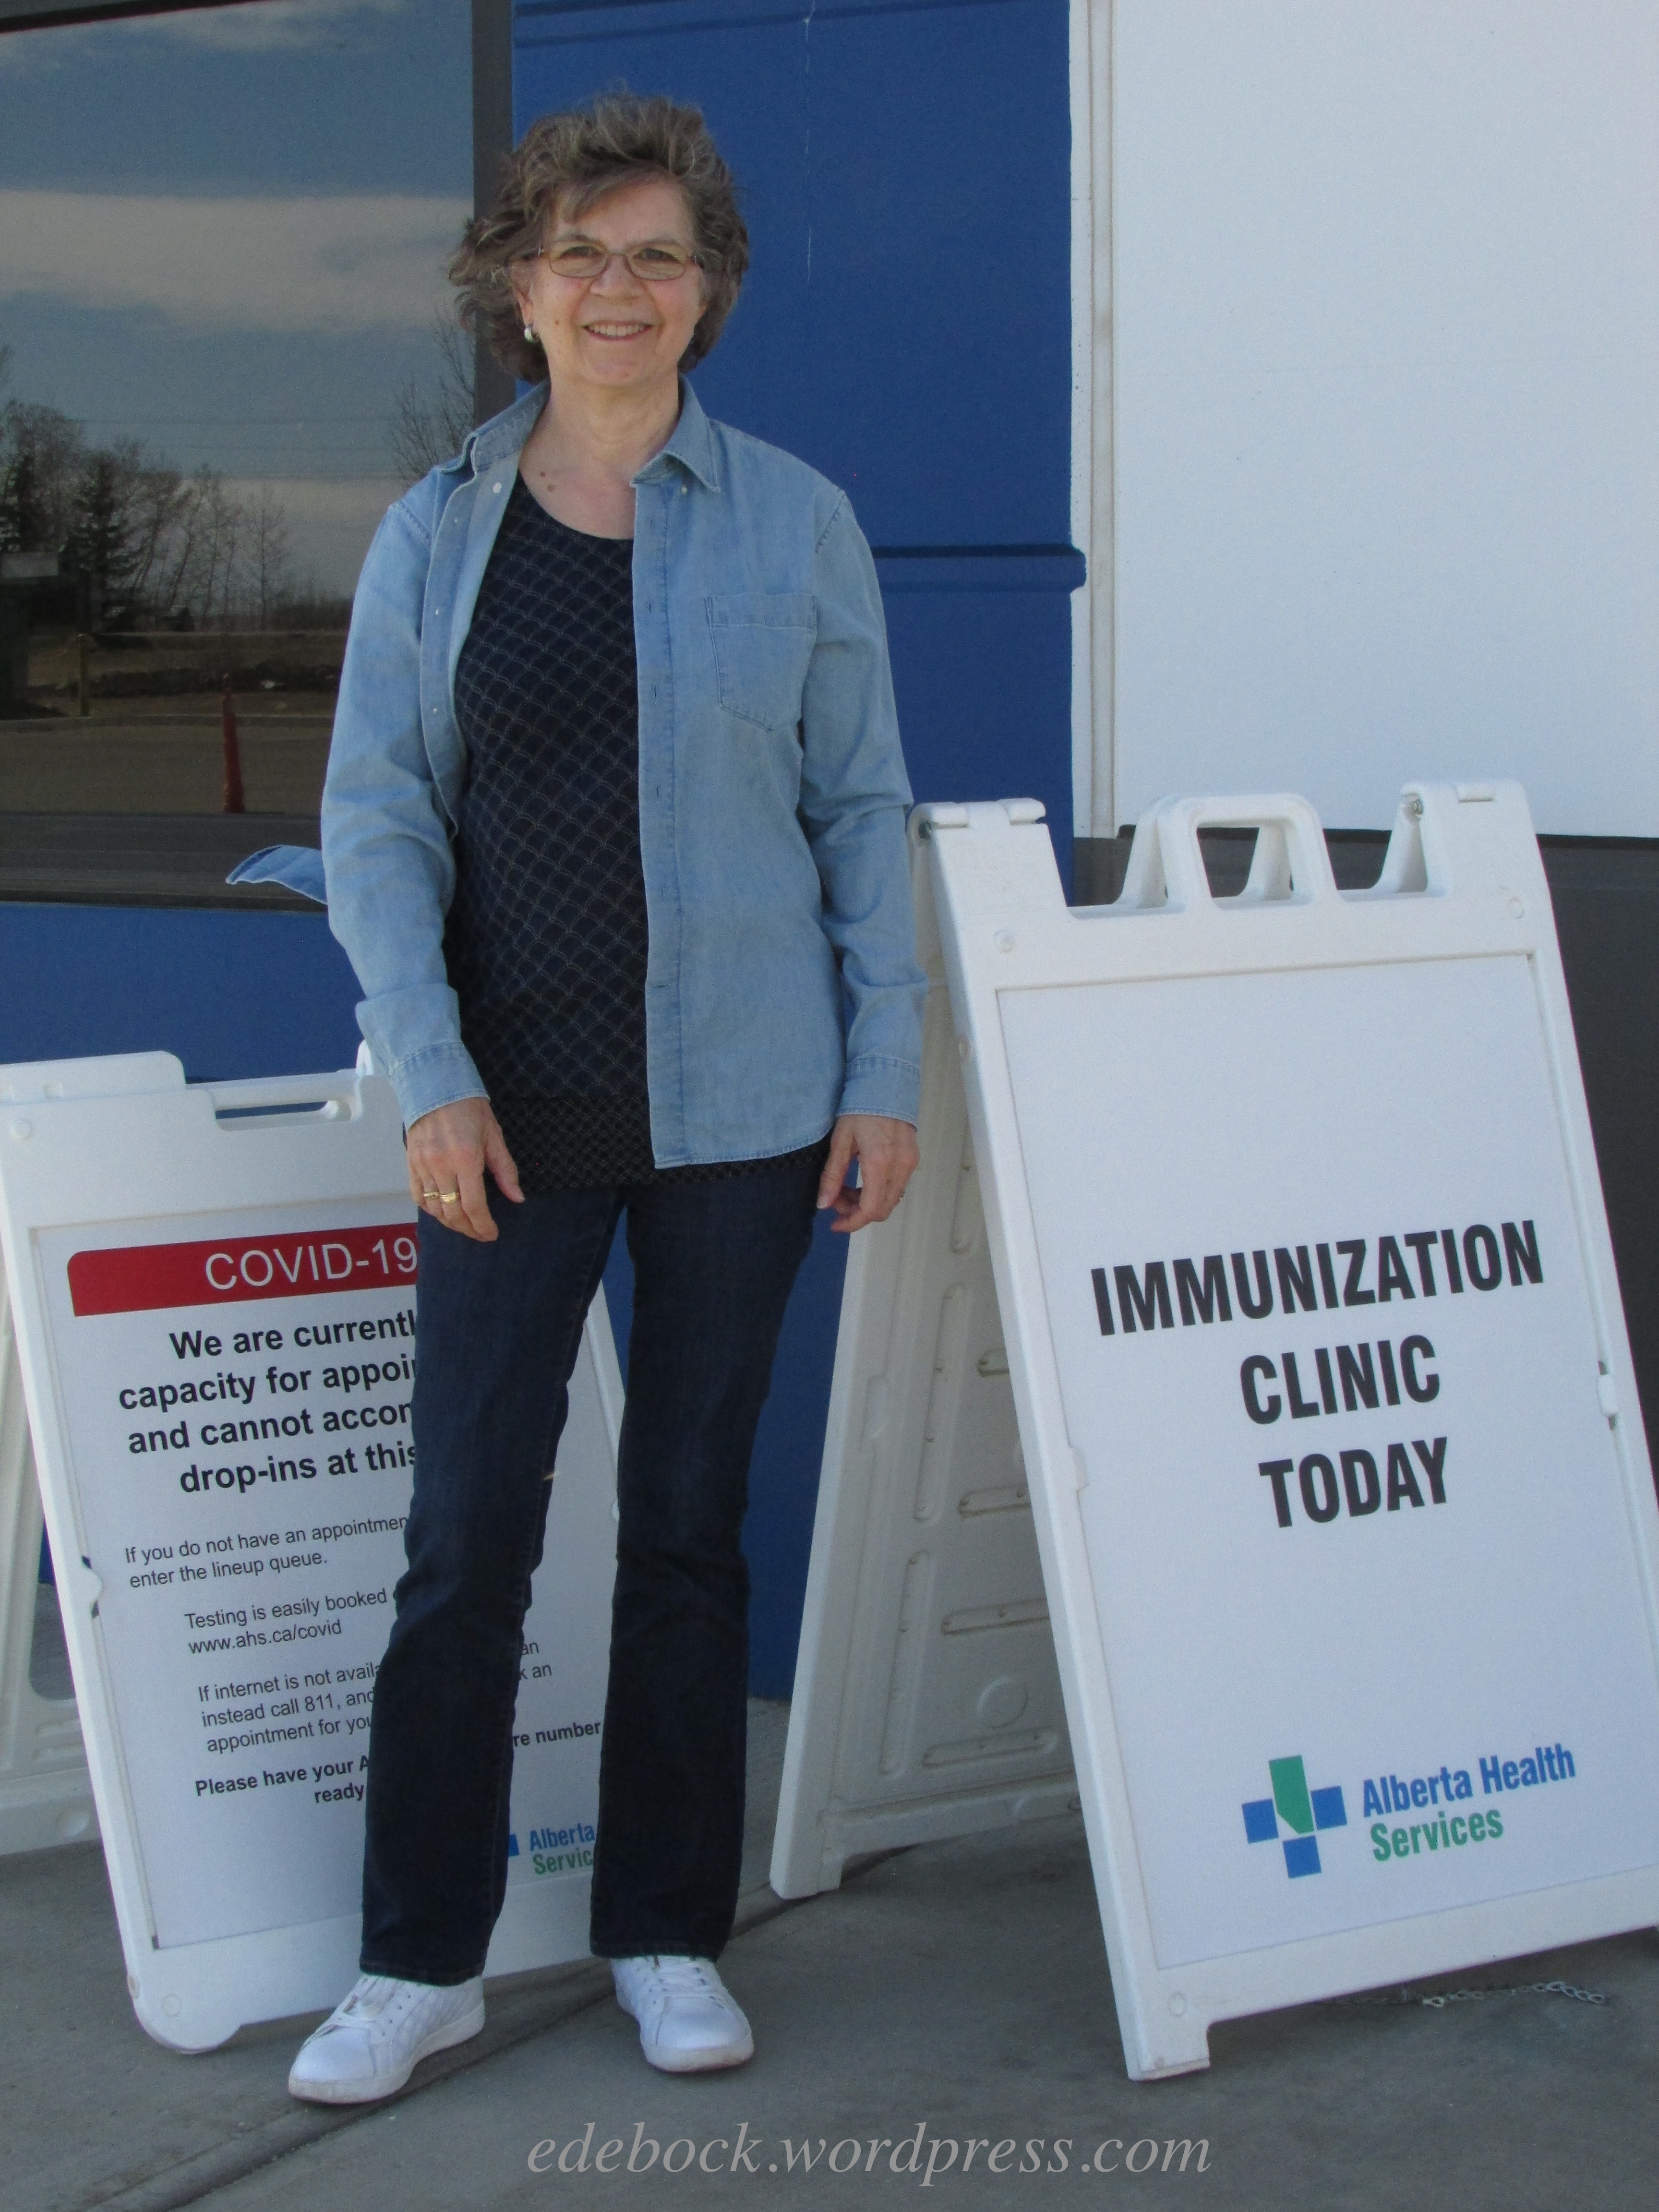
I had my second Covid-19 vaccine injection today! It was an uphill battle getting here, but it happened!

IMG_2362

Continuing from where I left off when I wrote the post Am I expendable? on April 18th, I called my MLA’s office and the Ministry of Health. By that time, the cry for cancer patients to receive their second vaccine within the recommended time frame had hit the media and was definitely on the government’s radar. Though I wasn’t given any details, I was told that a decision would be announced soon.

Finally, late on the afternoon of April 22, the Chief Medical Officer of Alberta announced that cancer patients and others who were severely immunocompromised could begin booking their second appointments by phone the following day. Actually getting the appointment was quite a gong show though. I started calling first thing the next morning, but the lines were clogged. I was absolutely elated when I got through later that morning and was able to book my appointment for the morning of April 30, just two days beyond the 21 day interval recommended for the Pfizer vaccine. My excitement was short-lived, however. Within a couple of hours, I received an email, with no explanation, telling me that my appointment had been cancelled!

I immediately phoned again and made a second appointment, only to have that one cancelled the following day! At that point, I started to think that somehow the information that I was a cancer patient must not be getting into the system. I admit to being pretty hot under the collar by the time I called a third time to make the same appointment! I mentioned my suspicion and the gal who did the booking agreed with me. She told me that there was a new button to click to indicate that a caller was part of the patient group who could now book their second injections. Apparently those who took my first two calls either didn’t know that or forgot. Fortunately, while all of this was going on, today didn’t completely fill up and I was still able to get in.  

I’m glad that no one checked my blood pressure during the two days that it took to finally get an appointment that stuck! The whole rigamarole certainly added to my stress level and I almost feared checking my email for the next few days in case I once again saw a “Covid-19 Immunization Cancellation” message waiting for me! After fighting so hard to see this happen, I didn’t feel 100% certain that it would until the needle was actually in my arm! 

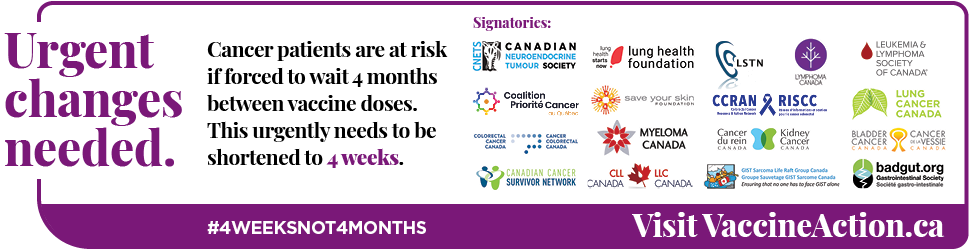
The fight isn’t over yet though. The majority of cancer patients across Canada still don’t have access to their second vaccine within the timeline proven most effective by clinical trials. CONECTed, a national network of oncology groups supported by over 17 national patient organizations, has launched a campaign asking the federal government to revise the National Advisory Committee on Immunization (NACI) recommendation for cancer patients so that they would receive 2 doses of Covid vaccine within 21 to 28 days of each other. They are also asking provincial and territorial governments as well as local administrators to ensure that adequate directives and resources are provided to achieve this goal. 

image002(1) (1)

Being fully vaccinated isn’t actually going to make any difference to how I live my life at least in the short term. It typically takes two weeks after a person is fully vaccinated for the body to produce enough antibodies to provide protection from the virus and even then, with the Covid-19 situation here in Alberta the worst it’s ever been, life won’t be getting back to “normal” anytime soon.  

Do-it-yourself pedicure

LogoDepending on where you live, it may be that time of year when winter feet begin to emerge from socks and shoes and you want them to look good in sandals. Covid restrictions may also make it difficult or impossible to go for a professional pedicure. Never fear! It’s really not that hard to do yourself and a bit of self-pampering might be just what you need right now.

Here’s an easy step-by-step guide:

Step 1:  Prep your nails

Remove any old polish with nail polish remover. If you’re like me, you can skip this step at this time of the year. The only time I apply polish to my toenails in the winter is when we take a vacation to somewhere warm and, for obvious reasons, that didn’t happen this year. Otherwise, my feet are hidden all winter long and I don’t see any point in polish that no one is going to see.

Step 2:  Soak your feet

This is the step that I like best! If you have a foot bath, now is the time to put it to use. Otherwise, a regular basin will do or you can put enough water in the bathtub to cover your feet and ankles and sit on the edge. I usually sit on the bathroom counter and soak my feet in the sink, but you might not find that very comfortable. Regardless of what you use, add some bath salts (or epsom salts) and perhaps a few drops of a favourite essential oil and submerge your feet. Let them soak for 5 to 10 minutes or longer if you wish. 

IMG_2354

Step 3:  Cuticle care

Do not trim your cuticles. Both the Mayo Clinic and the American Academy of Dermatology advise against this practice. Cuticles protect both your nails and the skin surrounding them from infection. Simply use an orange stick or a cuticle pusher to gently push them back. You may want to use a cuticle oil or cream first, but the foot soak should soften them enough to make this unnecessary. 

Step 4:  Exfoliate

Use a foot file or a pumice stone to remove dry, dead skin cells. Focus on the balls of your feet and your heels as well as any other rough or calloused spots. Be firm, but be careful not to overdo it. You may be able to skip this step if you do what I do which is apply moisturizer to your feet every night before bed. It doesn’t have to be a foot cream. Any body lotion will do. Keep it on your bedside table and apply it liberally just before you slide your feet under the covers. I’ve been doing this for years and at 68 years old, my feet are soft and callous free. 

Step 5:  Trim your nails

Cut straight across to avoid painful ingrown toenails. Be careful not to cut too short as this is also a common cause of ingrown nails. Use toenail clippers, which are wider than fingernail clippers, and don’t worry about getting a perfectly straight line because next you’ll use a nail file or an emery board to even out the edges and soften any sharp corners. If, like me, you’re prone to ingrown toenails, cut a tiny V in the centre of the nail. I learned this trick from a podiatrist over 50 years ago and I’ve been doing it ever since. Apparently, it encourages the nail to grow toward the centre. I only do this with the big toes as none of the others have ever ingrown. 

IMG_2360

Step 6:  Moisturize and massage

Massage a dollop of moisturizer into each foot. Before moving on to the next step, use a cotton pad to remove any oily residue from your nails. 

Step 7:  Polish

You may want to go the whole nine yards and use a base coat and a top coat, but for the past several years, I’ve been using Sally Hansen Insta-Dri polish which is a 3 in 1 formula. On my toes, two coats will last for several weeks. Be careful to let the polish dry completely between each coat. An orange stick or a Q-tip is a handy thing to have on hand for a quick clean up if you accidentally paint outside the lines. 

And there you have it, a complete and easy do-it-yourself pedicure that didn’t even cost a cent! 

img_1561

I can’t remember when the tradition started, but I’ve been painting my summertime toes with gold polish for many, many years. The colour I’m wearing here is called Go For Gold. Now, with my pedicure done and my trademark gold toes ready to shine, I’m ready for summer to finally get here!